Key facts at a glance
- The haze problem
- Regional agricultural burning greys out long-distance views for weeks; no filter removes it
- Best light
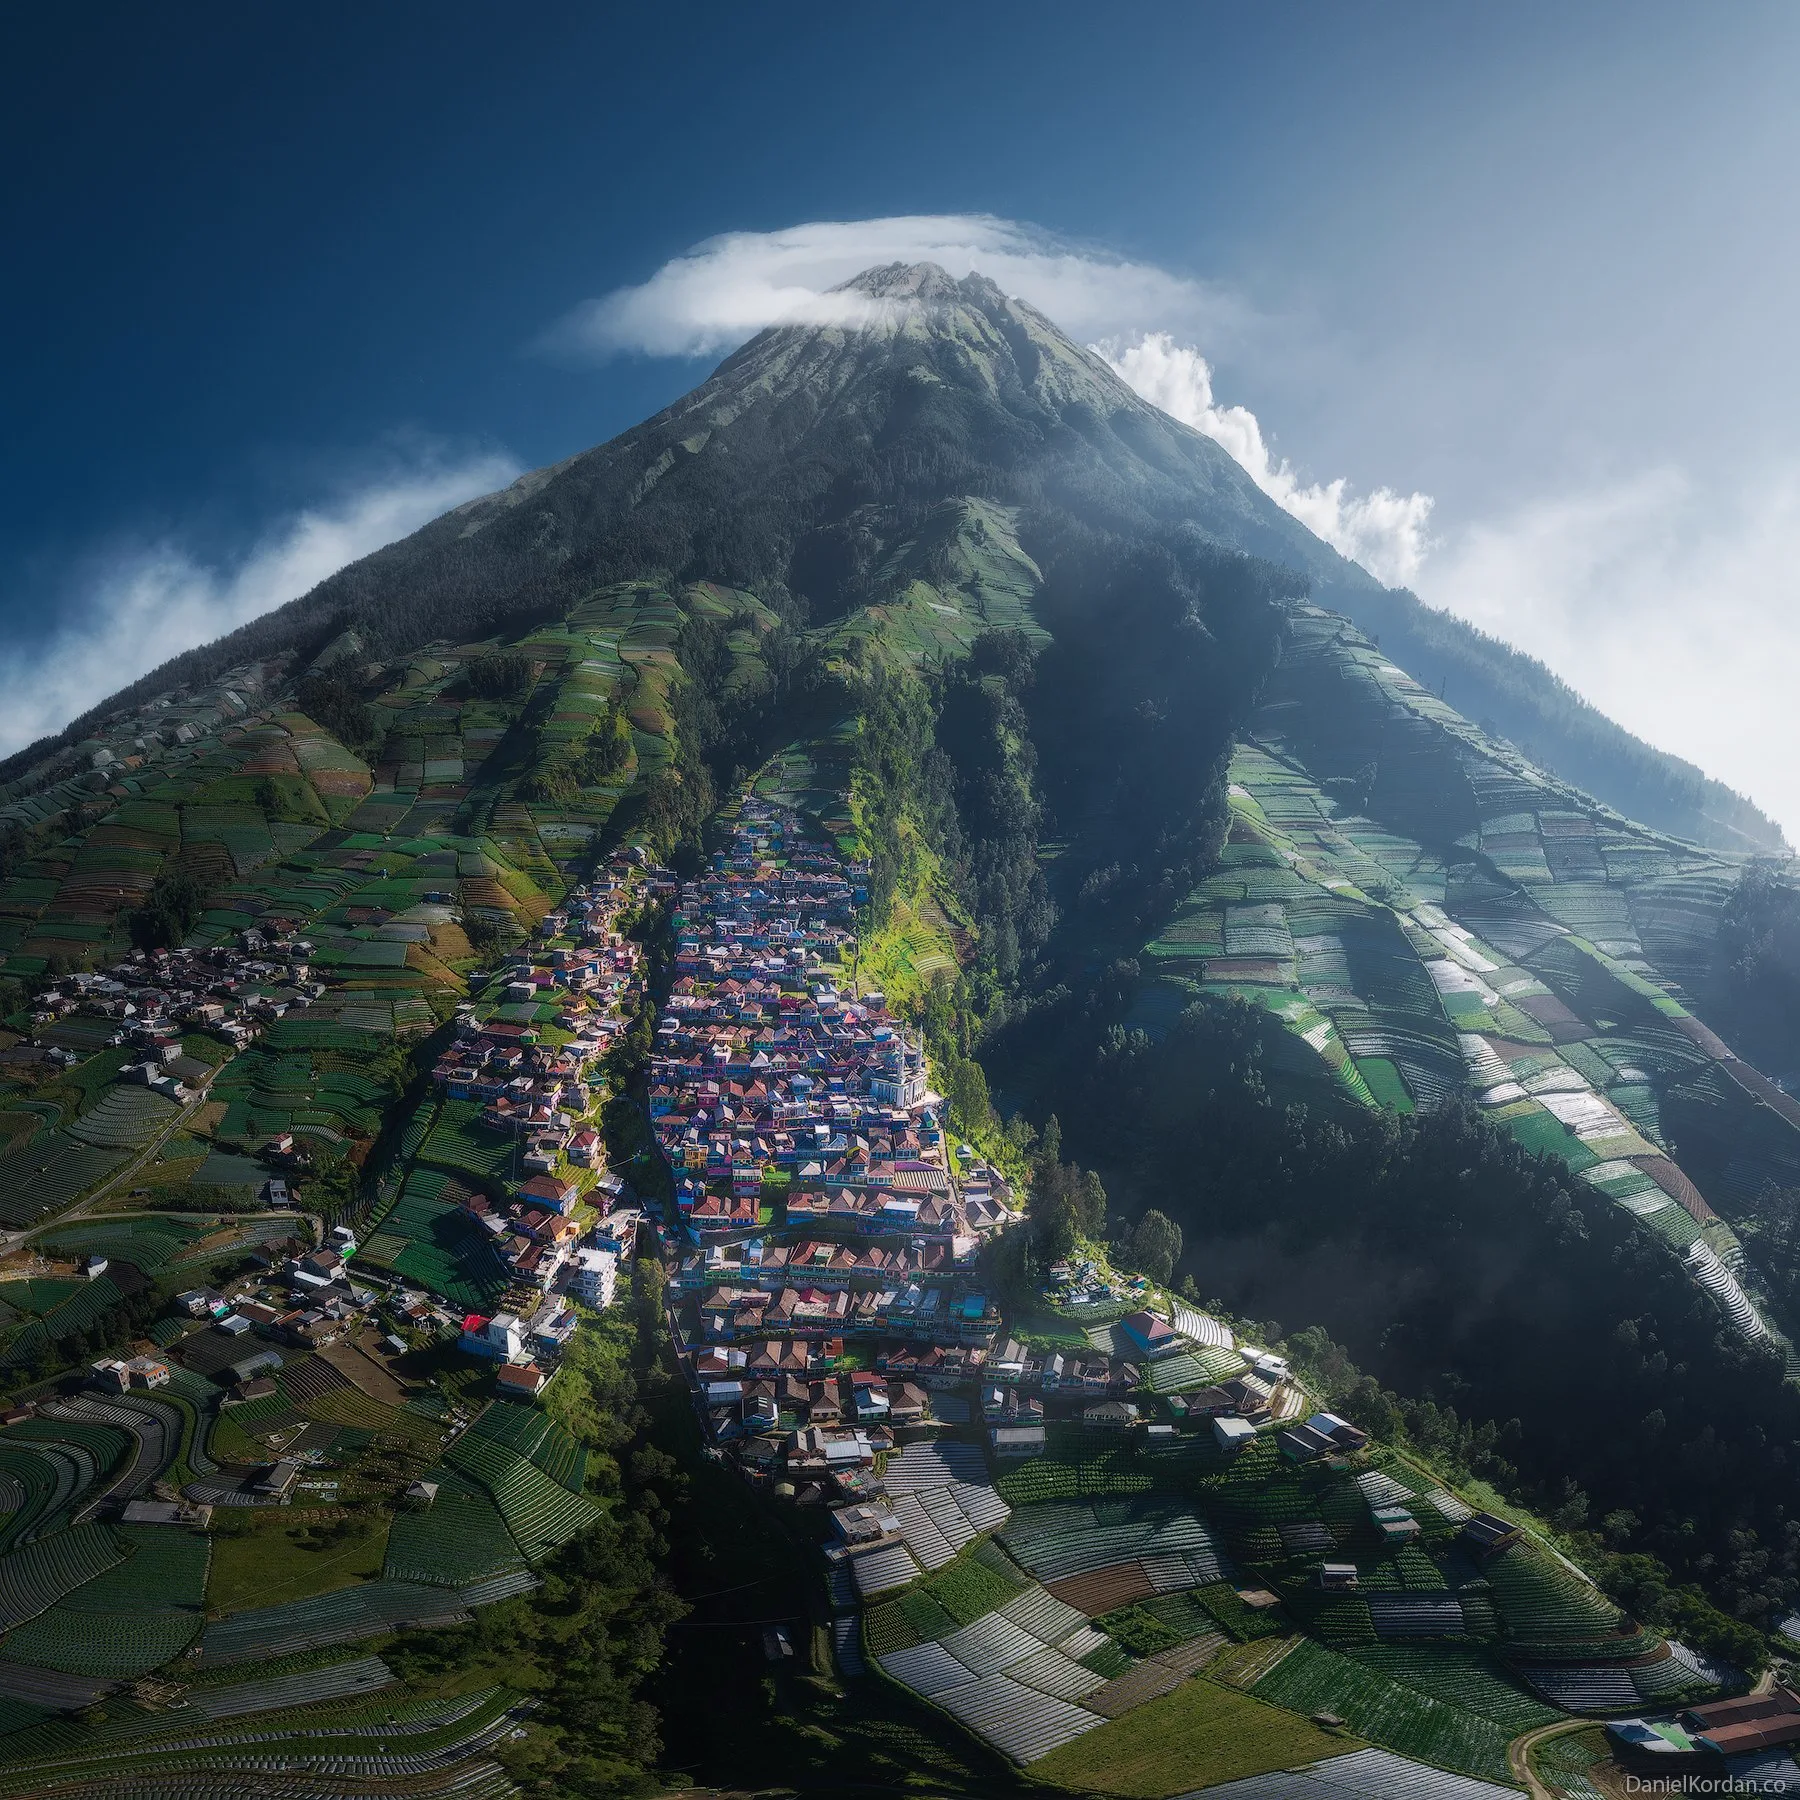
- Early morning, and low side light is what makes the Nepal Van Java terraces read as terraces
- Tripods banned
- Tripods and selfie sticks are prohibited on the Borobudur structure itself
- Backpack limit
- Over roughly 3 litres stays at the base, which rules out a large camera bag
- Filter thread
- 82 mm is the most common photographic lens diameter; 55 mm is common on compact fixed-lens cameras
- Stabilisation
- Not a substitute for a tripod at dawn, but the practical reason to bracket exposures on a moving subject
- Weather sealing
- Worth it in the wet season, where a dry bag costs a fraction of a body
- Honest limits
- We do not publish prices or review counts, and we do not claim to test the cameras below
Figures change without notice — treat this as a planning summary and confirm against the sources listed below.
Photographing in Magelang is easy in the sense that the light is good and the subjects are photogenic. It is hard in three specific, predictable ways: the haze, the bag rule at Borobudur, and the fact that the most famous viewpoints fail completely on a hazy day.
This page is about specs, not brands, and it is unusually blunt about the one thing that is bought constantly and helps much less than people expect.
The haze is the central problem
If you read one section, read this one.
The most common disappointment for a first visit is arriving at a viewpoint in clear weather and finding the distant volcano is a grey silhouette. That is regional agricultural burning haze: stubble cleared and burnt across the wider region through the dry season, producing fine particulate that sits in the air for days or weeks.
Critically, this is not weather. There is no rain, no cloud, and often no visible smog at ground level. You can be standing in brilliant sunlight under a blue sky and the distant view will be gone. This is why it catches people out — they check the forecast, see sun, and assume the visibility will be fine.
What a polarising filter does: helps with light reflected off water, wet rock, leaves and glass. That is a real and noticeable benefit at a waterfall, on a wet paddy path, or on dew in the morning.
What a polarising filter does not do: remove suspended particulate. Not at all. It may improve contrast marginally. Anyone marketing a filter as a haze solution is overselling it, and the effect is closest to a small, expensively-bought improvement rather than a fix.
What a polariser actually costs you: roughly two stops of light, which is significant at a dawn start, and it interacts with a long exposure on a camera where you can control the shutter directly.
The real answer to haze is timing. Our best time to visit guide covers the seasonal pattern, and the short version is that late August into September is generally the clearest window and the period right after the wet season is the one to aim for. There is no filter substitute for being in the right week.
Filter thread sizes, the boring part that catches everyone
For a DSLR or mirrorless body: 82 mm is the most common photographic lens diameter, with 67 mm second. For a compact fixed-lens camera: 55 mm is more likely. Some smaller compacts have a filter thread too narrow to accept a filter at all, which is worth knowing before you buy.
The number is stamped on the front rim of the lens or on the body cap. Getting it wrong is the most common reason a filter will not screw on, and it is the first thing to check.
On a variable ND plus polariser combination: these exist and they are genuinely convenient for travel because one filter does both jobs, which is a real advantage when every gram of pack volume is contested. The compromise is that you get less control than with separate filters — for instance you cannot use a polariser at a long shutter without also losing some ND — and the price is higher than two cheap ones. For most people shooting a fixed subject in daylight, separate filters are the better buy.
Where an ND filter is actually useful
Only one place on this itinerary earns an ND: a waterfall.
At a waterfall you are almost always shooting at the fastest shutter the camera allows, which in daylight means a wide-open aperture and, on a phone or a small sensor, blown highlights. An ND lets you hold a sensible aperture and drop the shutter for the long-exposure silky-water effect.
Everywhere else — a sunrise, a temple, a viewpoint, a village — a graduated filter or bracketed exposures is the tool that fits, and an ND is dead weight. So it is a specialist purchase, not a first one, and it should be the last filter you buy rather than the first.
The Borobudur camera problem
Two independent constraints, and between them they decide your whole kit.
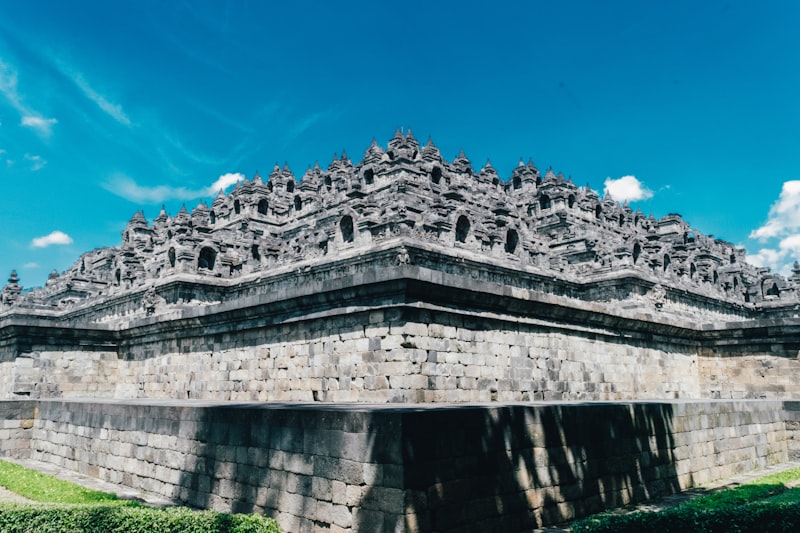
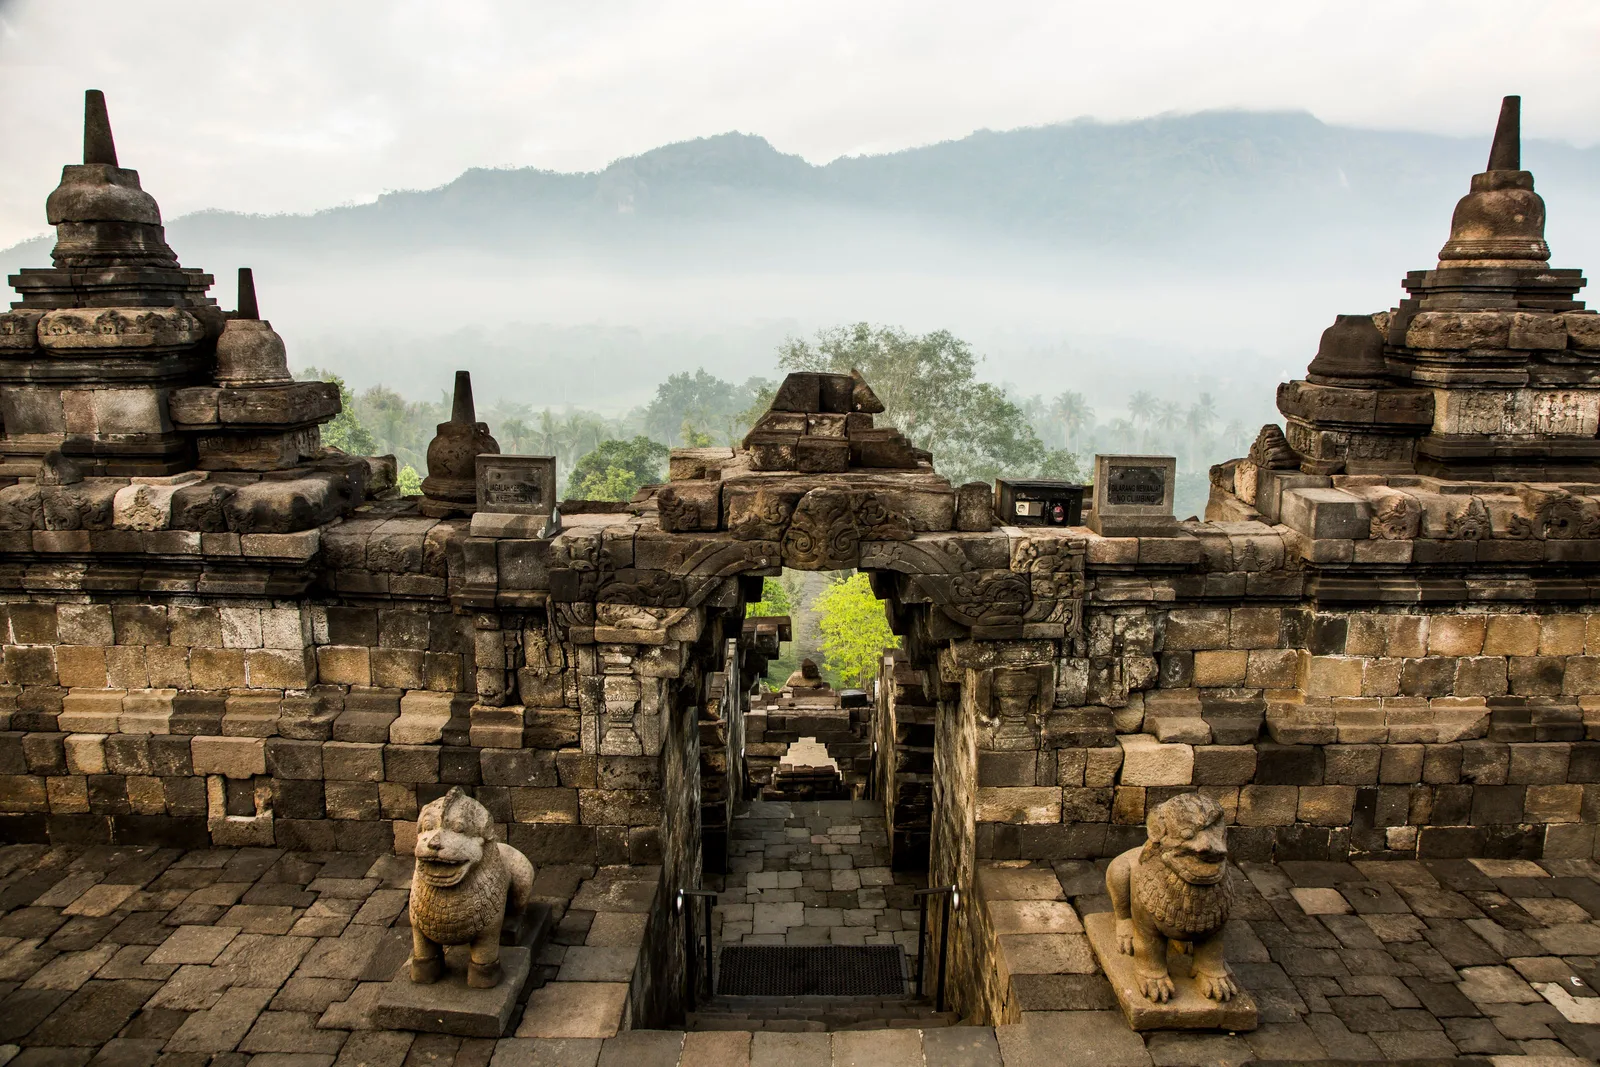
Tripods and selfie sticks are prohibited on the structure. Crowding plus stairs, which is why. They are fine in the lower park and the surrounding galleries — and that is actually where the wide shot of the monument with its galleries and its 72 stupas works properly, so plan tripod work at ground level rather than at the summit platforms.
Backpacks over roughly three litres are left at the base. This rules out a large camera bag, two lenses and a battery grip, which will sit in a small communal locker while you climb. A mirrorless body with one short zoom in a waist pack or a small shoulder bag works.
There is a third consideration people forget: the exit walk is about a kilometre through a dense souvenir-stall maze. Photographing your own feet through a market while carrying a camera is a much worse afternoon than photographing the temple and carrying nothing. The Borobudur packing guide covers the bag decision in full.
The headlamp, which is a photography tool here
Not for the monument, which is lit. For the Punthuk Setumbu approach road, which is unlit, and the case for it is stronger in a photographic context than in a hiking one.
A white headlamp destroys the dark adaptation you have spent an hour building. A red-light mode lets you see your feet on the track and still be able to see the sky when you arrive. That is the difference between arriving able to photograph the sunrise and arriving to find you cannot see anything except the ground.
A wide beam matters for the same reason: on an unpaved track with roots you are navigating by obstacle avoidance, not by looking ahead.
Our Punthuk Setumbu guide covers the walk itself.
What light actually does here
The site’s best photography advice is not technical, and it is worth stating plainly.
Low side light is what makes the Nepal Van Java terraces read as terraces. Terraces are only legible when the raking light picks out the bunds; under flat overhead light a terraced hillside is a green slope. This is why our gallery guide recommends the late afternoon rather than the obvious mid-morning, and it is the same reason photographers on this island talk about “golden hour” more than they talk about the golden ratio.
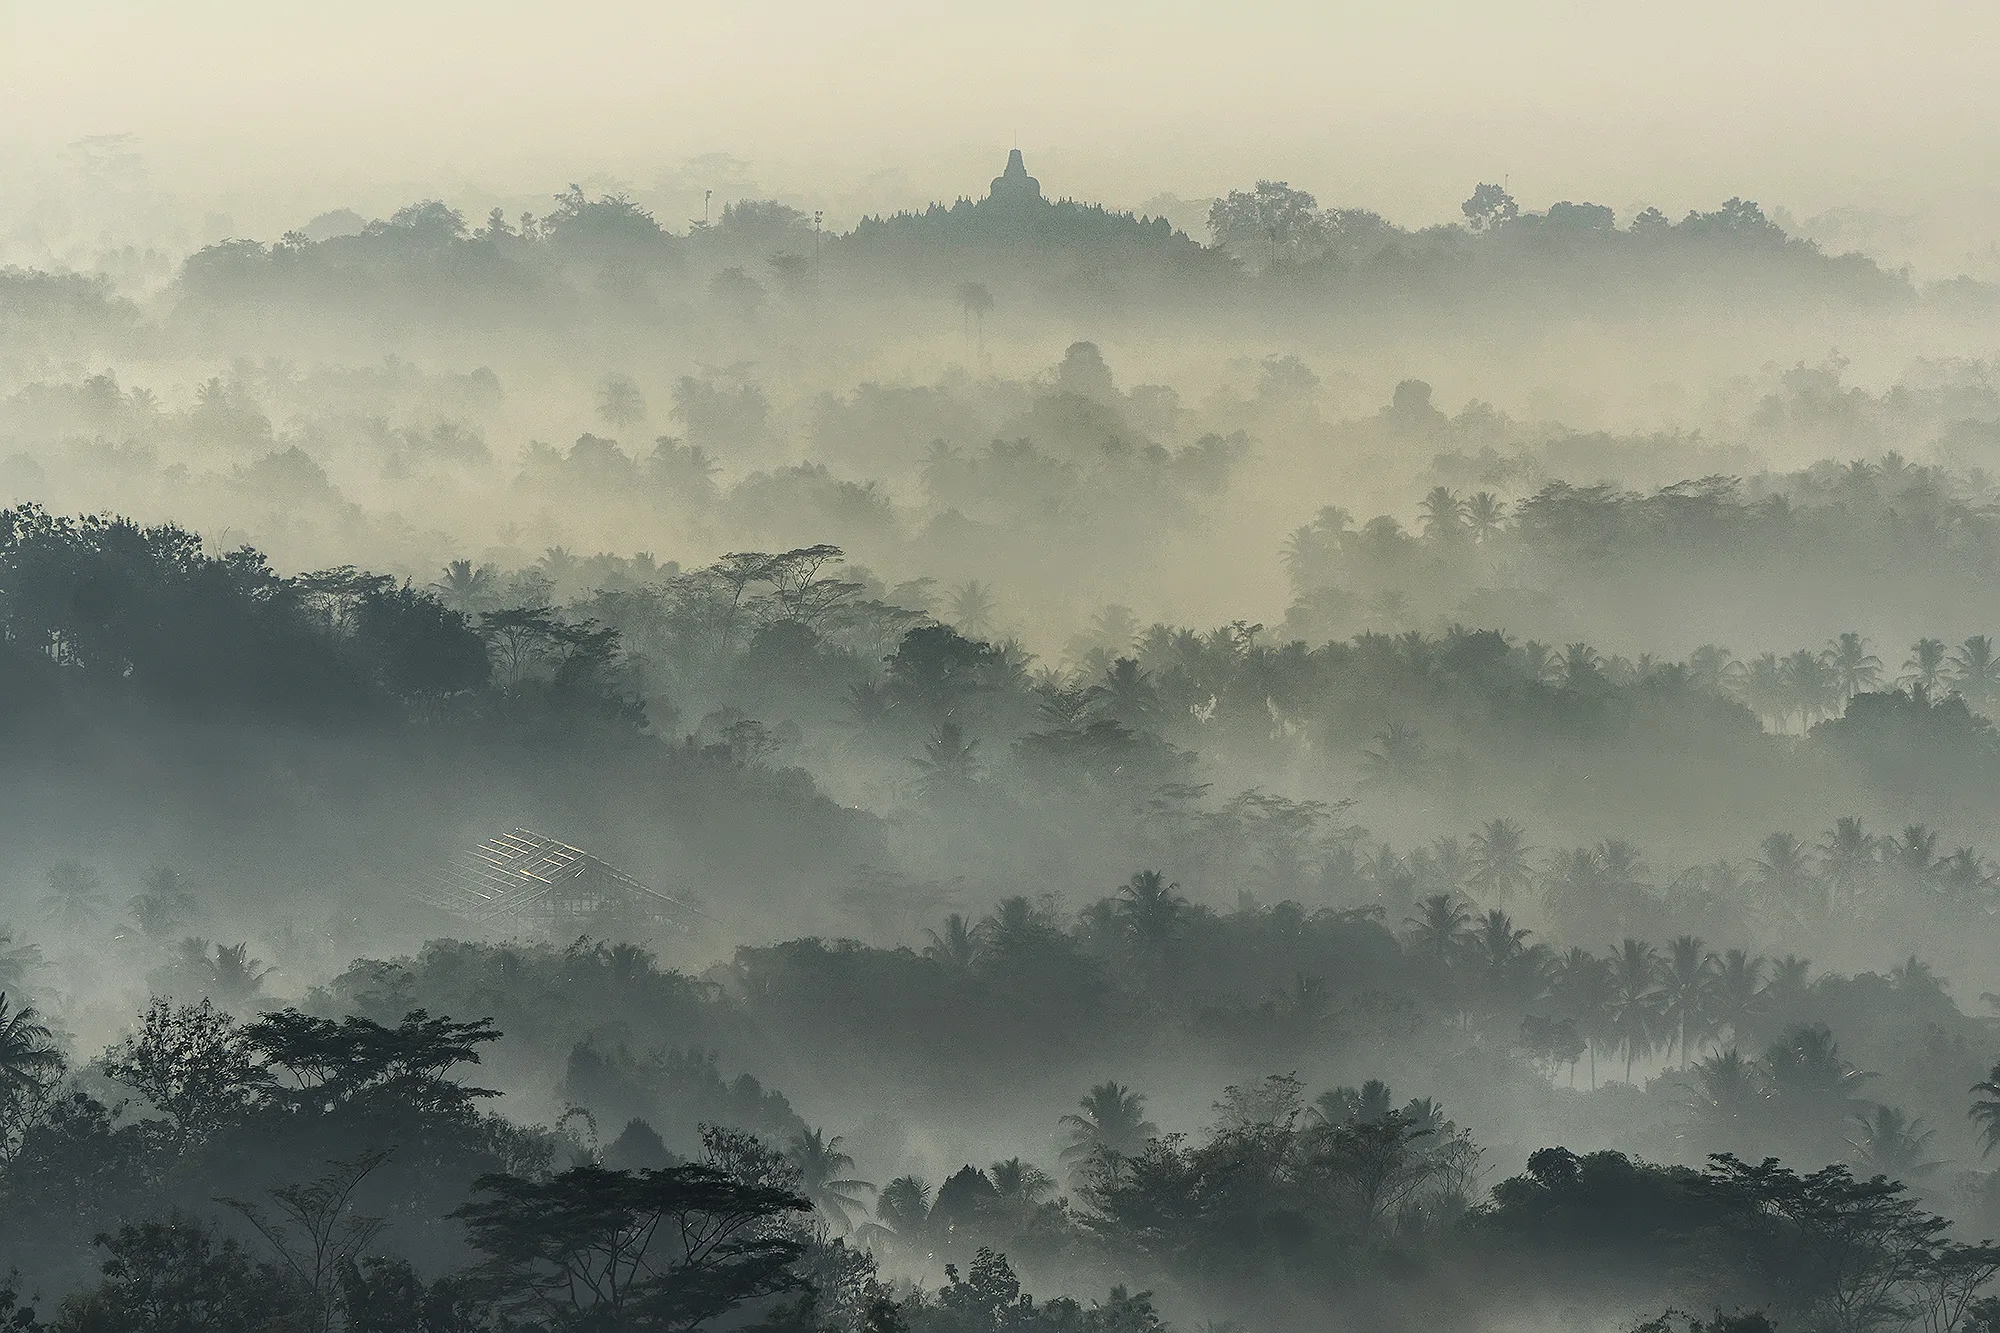
Mist is the point, not a problem. On Punthuk Setumbu and around Borobudur, morning mist and haze in the valley are what soften a landscape and separate the temple from the hills behind it. A completely clear morning is often a worse photograph than a slightly hazy one, and this is a case where the two problems — wanting clarity, wanting atmosphere — pull in opposite directions.
Exposure on a bright subject against a dark one. A dark volcanic temple silhouette against a bright sky is the classic hard-dynamic-range scene, and it is why bracketing is worth learning here rather than buying another lens. Or use a graduated filter.
Rain, humidity, and the dry bag
Rain is convective here, so a bright morning proves nothing about the afternoon. In the wet season, a roll-top dry bag in a small pack is the cheapest insurance available and solves the electronics problem completely.
A water-resistant camera body is a real improvement, but it costs considerably more than a bag, and the bag also protects a spare battery, a lens cloth, and the contents of your pocket. For most people on this trip the bag is the better buy.
The kit, assembled
For photographing Borobudur and the heritage axis without exceeding the bag limit:
- A mirrorless body with a single short zoom
- A waist pack or small shoulder bag, under three litres
- A 67 mm or 82 mm polariser, for the wet-paddy and foliage contrast — understanding it will not remove haze
- A phone, as backup, because it will not be left in a locker
- A roll-top dry bag for the wet season
- A headlamp with a red mode, for the dawn viewpoint walks
- A microfibre cloth, which is not an optional luxury at 18 to 28 °C in humidity
For the highlands and Mount Andong, swap the short zoom for a longer one, keep the headlamp, and add a mid-layer. Poles and trail shoes matter more there than any camera decision.
One honest caveat
This is a specification-first page, not a test report. We have not shot these locations with these products. The reasoning starts from the documented conditions — the bag rule, the tripod ban, the haze mechanism, the light angles that make these subjects legible — and works backwards to what a product has to do. We do not publish prices, ratings or review counts, because a page that quotes them is wrong by tomorrow. Follow the links for current listings and compare across brands yourself. The reasoning is the part worth trusting; the listing is an example of one product that meets the criteria.
What to look for, and where to look
Criteria first. Follow a link to see a concrete example of each product type, or browse the category to compare brands yourself.
Camera
-

82mm circular polariser, multi-coated
The single most useful filter for a Magelang trip, because the haze problem is a polarisation problem.
What to check
- A circular polariser, not a linear one, so it works with autofocus and modern lenses
- 82mm to match a standard wide-to-normal zoom thread on a full-frame kit lens
- Thin enough not to vignette, ideally under about 3mm
Agricultural burning haze across Central Java is a documented, recurring seasonal problem. A polariser is the only filter that measurably darkens it, though it cannot clear a genuinely thick plume.
-
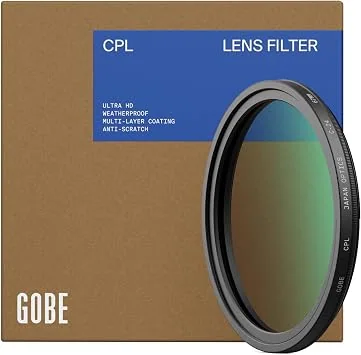
55mm circular polariser for APS-C and Micro Four Thirds
The same haze control for a smaller sensor and a wider field of view.
What to check
- 55mm thread, which is the common fit for an APS-C kit zoom
- A metal frame so it does not flex in the filter ring
- A coating that survives being wiped with a damp cloth
If you shoot APS-C rather than full frame, 55mm is usually the correct size and often cheaper than 82mm.
-
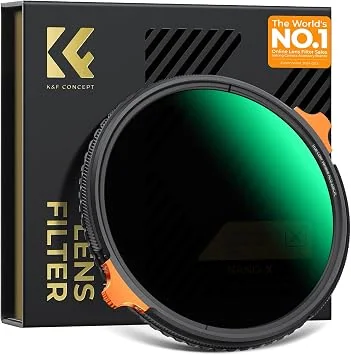
82mm variable ND filter combined with a circular polariser
For sunrise work where the sky is bright and the foreground is not, in one filter.
What to check
- A variable ND2-32 range, which covers sunrise to midday
- A polariser built in, so you do not need to unscrew and rescrew two filters
- A reasonably flat, colour-neutral glass element
Useful if you are photographing Punthuk Setumbu or Mount Andong for sunrise, where the exposure range is wide and a tripod is often not permitted or not practical.
Bags
-
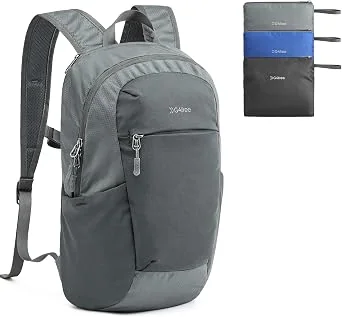
18L packable daypack that folds into its own pocket
For the traveller who did not think far enough ahead to buy a bag before the flight.
What to check
- Packs into itself, so it takes up no luggage space
- When unfolded it still has a padded strap and a closed lid
- A zipped main compartment, not a drawstring only
A reasonable emergency bag for Magelang, where buying a replacement locally is not always straightforward.
Lighting
-
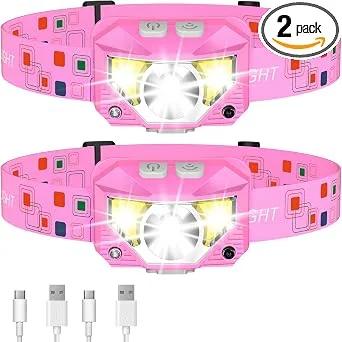
Wide-beam headlamp, two-pack
When a wide field of view matters more than reach, such as reading a path marker or a stall price board.
What to check
- A wide flood beam, because a narrow spot beam is useless for anything under your feet
- Two in a pack, so one can live in the bag and one can be worn
- A tilt mechanism, so you can aim it while wearing a cap
Two per household also solves the shared-battery problem when a group splits up for the night.
Rain gear
-
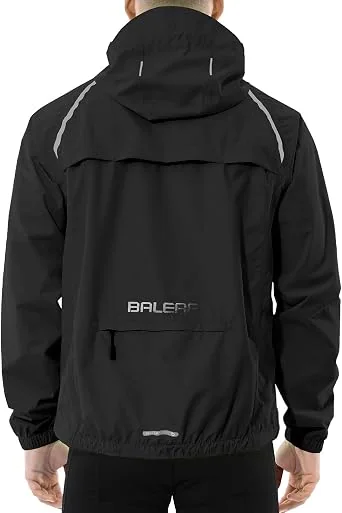
Lightweight packable windbreaker with taped seams
A cheaper, lighter layer that handles drizzle and wind but not sustained heavy rain.
What to check
- A stated waterproof rating, so you know which jobs it can do
- Fully taped seams, not only a coated fabric
- Elastic cuffs and a drawcord hem, which stop the rain running down your arms
Useful as a packable top layer for highland wind at Ketep Pass and Andong, where drizzle is more common than downpour.
Links open Amazon. We are not the seller and we do not handle the order. A purchase changes nothing about what this site recommends. How this works.
Sustainable Tip
Do not fly a drone to get the shot. Drone flight over the Borobudur structure is prohibited outright and a permit is required for anything nearby; the enforcement and the cultural sensitivity both make this a hard no.
Family Tip
Give children a point-and-shoot job rather than your camera. One lens, one setting, one subject, and let them bring back a frame. It takes the pressure off the whole outing.
Frequently asked questions
Will a polarising filter fix the grey haze?
No, and anyone selling you one on that basis is overselling it. A polariser genuinely helps with light reflected off water, wet rock, leaves and glass, which is a real benefit at a waterfall or on a wet paddy path. Regional agricultural burning haze is fine particulate suspended in the air, and no filter removes suspended particulate. A polariser can improve contrast slightly and it costs you roughly two stops of light, which is a genuine loss in the low light of a dawn start. The haze is a timing problem, not a filter problem.
What filter thread size do I need?
For a DSLR or mirrorless body, 82 mm is the most common photographic lens diameter and 67 mm is the second most common, so 82 mm covers most people. On a compact fixed-lens camera 55 mm is more likely, and some smaller compacts use a thread too narrow to take a filter at all. Check the front of your lens or the body cap; the number is stamped on the rim, and getting it wrong is the most common reason a filter does not screw on.
Do I need an ND filter here?
Occasionally, and for one specific reason: a waterfall. You are almost always shooting at the fastest shutter speed your camera will allow, which in daylight means a wide-open aperture and, on a phone or a small sensor, blown highlights. An ND lets you hold the aperture and drop the shutter for a long-exposure silky-water effect. At sunrise and at viewpoints a graduated or bracketed exposure works better and an ND is dead weight, so it is a specialist purchase rather than a first one.
Can I use a tripod at Borobudur?
Not on the structure. Tripods and selfie sticks are prohibited on the monument itself, because of crowding and the stairs. In the lower park and the surrounding galleries a tripod is fine, and there is far more room. That is where the wide shot of the monument with its galleries and stupas actually works, so plan the tripod work at ground level rather than at the summit.
What camera fits through the Borobudur bag check?
Anything in a small pack, effectively. Backpacks over roughly three litres stay at the base, so a large camera body with two lenses and a battery grip will be left in a locker while you go up. A mirrorless body with one short zoom in a waist pack or a small shoulder bag works. The famous one-kilometre walk out through the souvenir stalls also argues for carrying as little as possible.
Do I need weather sealing?
In the wet season, some form of it. Rain here is convective, so a bright morning says nothing about the afternoon. Weather sealing on a body plus a roll-top dry bag in the pack is the combination that works, and a dry bag costs a fraction of what weather sealing costs at the body level. In the dry season, sealing is a nice-to-have and a dry bag is enough.
Is it worth bringing a headlamp if I am only photographing at dawn?
Yes, for two reasons. The Punthuk Setumbu approach road is unlit and you will be walking it in the dark, and a red-light mode matters more for photography specifically than for hiking: a white headlamp destroys the dark adaptation you have built, and a red mode lets you see your feet and still see the sky. That is the difference between arriving able to photograph the sunrise and arriving unable to.
Why do you not publish prices or ratings for these?
Because they change by the hour and a page that quotes them is wrong by tomorrow. We name the specification, explain what the condition on the ground demands, and link out for current figures and a wider comparison. We also do not claim to have field-tested these products. The reasoning is the part worth trusting.
Tourism information — including opening hours, entrance fees, and transport routes — may change. Please verify with official local sources before planning your visit.
Sources and further checks
Use these primary or specialist sources to confirm current access rules, safety notices, and travel arrangements.

About the Author
Larasati Wulandari
Independent travel writer · Central Java, Indonesia
Larasati Wulandari is an independent travel writer who has lived in Central Java for eight years. She writes first-hand, practical guides to Magelang's temples, viewpoints, and local food, and reviews them regularly as conditions change.